How Can We Help?
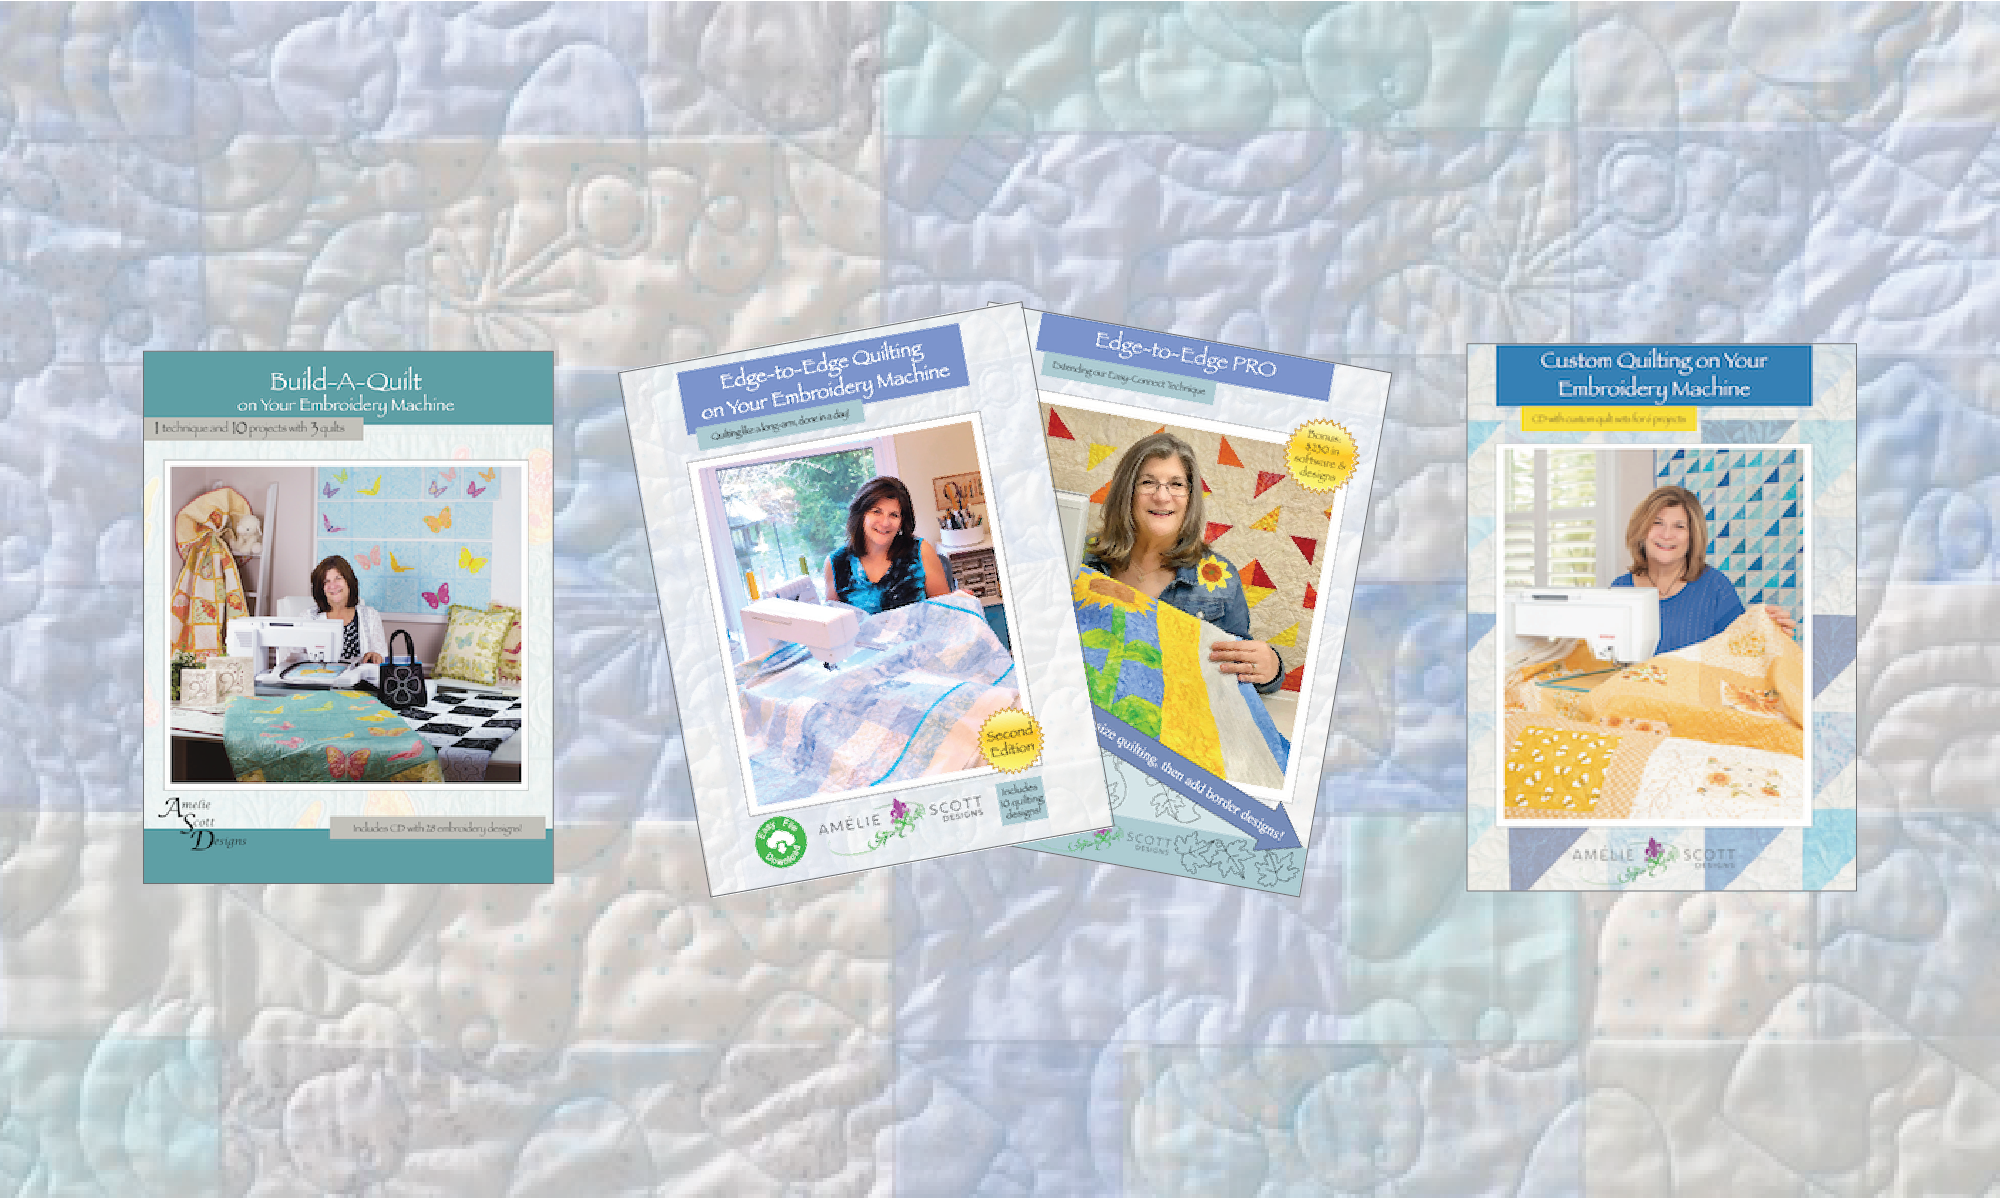
How do I start with edge-to-edge?
If you’re new to your embroidery machine — start by embroidering some of the designs that came on your machine, using inexpensive or scrap fabric. Embroidery is fun, but there are always a few things you need to learn, in order to get good results, and some of those things are specific to specific machines. One important general reminder: unless you’re embroidering on a quilt (with batting and backing) you need to have stabilizer with the fabric.
One of the best suggestions we can make is to take a class at your local quilt shop, where you’ll learn from a person who has good experience with embroidery, and who can teach you some of the features of your embroidery machine.
If you know how to use your machine and just need to get started with Christine’s edge-to-edge quilting technique — we have a few suggestions:
- Class — many local quilt stores teach classes using the same teaching materials and approach that Christine uses when she teaches. It’s a great way to learn the technique and get more experience with the embroidery positioning feature on your machine.
- Edge-to-Edge Quilting Academy — Christine now teaches her technique in hands-on, virtual education sessions. These classes include a printed workbook, free designs, and the ability to learn from and ask questions of the technique’s inventor! See this link for details.
- Video tutorials — you have two options here. First, Christine recorded a video walk-through of her technique, and posted it on our YouTube channel. It’s a great way to get a view of the basics. Second, if you want something more substantial, Annie’s Catalog offers a video class that Christine recorded. In that class, Christine uses a table runner to show the technique, but she talks about how the steps apply to a full size quilt.
- Whole cloth exercise — for your first attempt at the technique, get two 1-yard cuts of inexpensive fabric, and a 1-yard cut of batting. Make a quilt sandwich, using temporary spray adhesive or just a few quilting pins, leaving the center free of pins. Then, pretend that this is a quilt, and stitch 6 designs — 3 columns, with 2 designs in each column — following the instructions from the book. This will give you experience with all the steps of the technique. We suggest the whole cloth approach because, even though Christine put a lot of work into making the technique easy, it’s human nature to make a mistake or two when you’re learning something new. If you make a mistake on a whole cloth, it’s not a big deal. In contrast, if you make a mistake on a quilt top that you spent weeks piecing, it’s a lot more aggravating.
End
If this did not address your question, please use this form to ask for help.